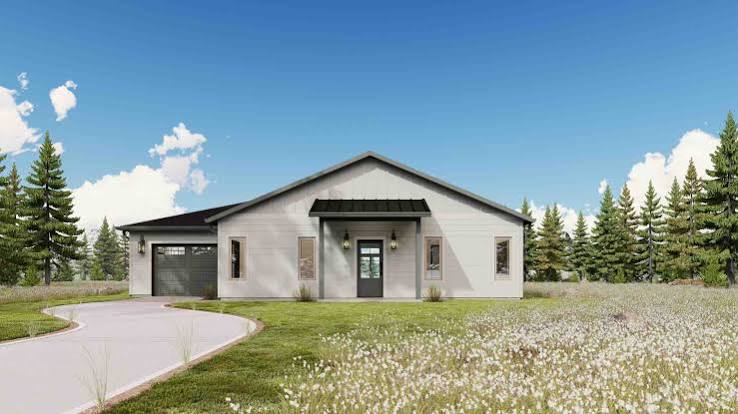
ADU construction process step by step: from site prep to final inspection
Last updated: September 10, 2026
Key Takeaways
- The most common ADU mistakes are not dramatic; they are small omissions that compound over 6 to 12 months of building and inspection.
- In most jurisdictions, the buried utility locate process runs through 811, but private lines on a property may still need separate verification.
- If the crew has to hand-carry everything 80 feet through a narrow side yard, labor rises and damage risk rises with it.
- If the lot drains toward the ADU, fix that before foundation work.
Six to 12 months can vanish fast on an ADU. Miss one early step, and the rest starts wobbling. The adu construction process step by step: from site prep final inspection begins well before framing and ends only after the final inspection clears the unit for use. A backyard accessory dwelling unit is not a small shed with plumbing; it is a permitted building, and the build order matters because each trade waits on the one before it.
Who this is for — and who should do something else
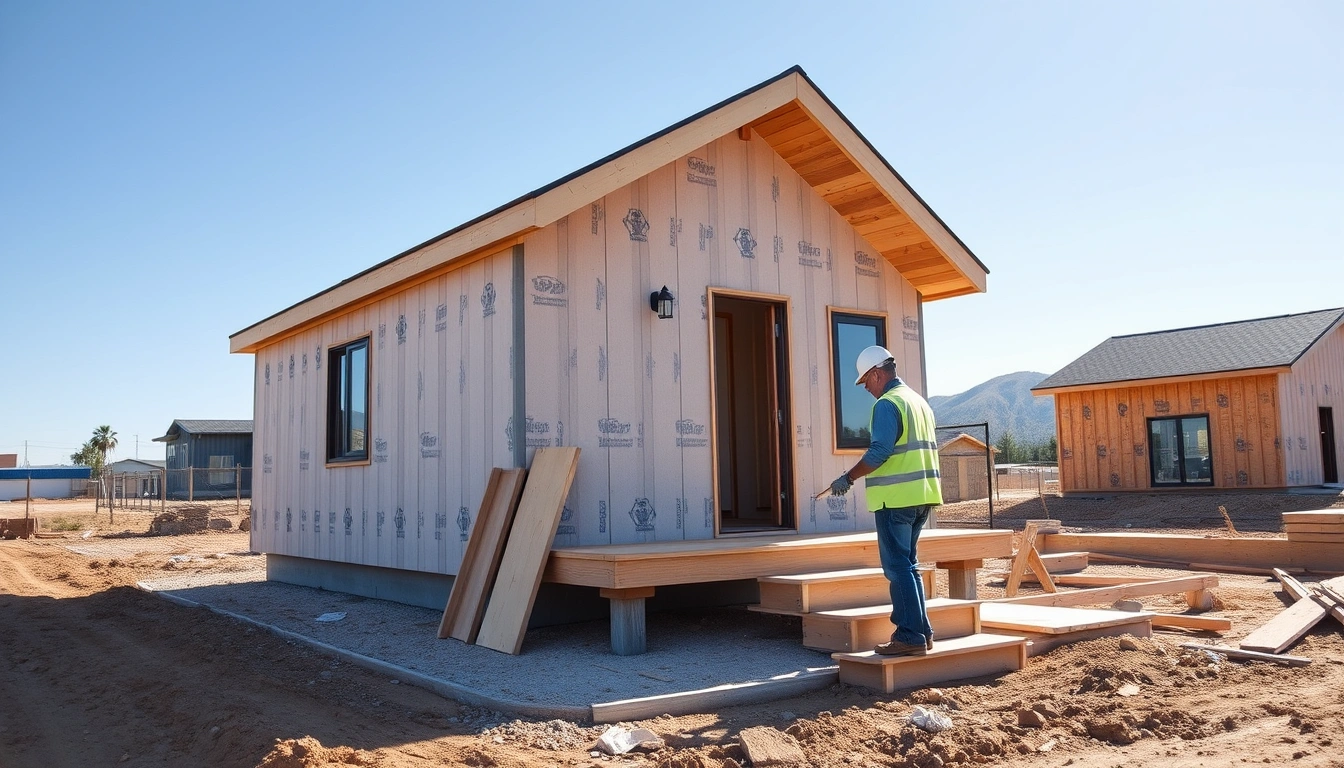
This is for a homeowner, investor, or family member who already knows the basic ADU concept and wants the actual build sequence: what happens first, what gets checked before the next trade starts, and where projects usually slip. I’m assuming you already have a permitted design or are close to permit approval, a site plan, and a general idea of whether the ADU is detached, attached, garage conversion, or basement conversion.
Not for shortcuts. If someone wants to skip design, zoning review, or permits and “just start building,” this is the wrong play. An ADU almost always touches structural, electrical, plumbing, and fire-code rules, and the wrong order can trigger rework, delays, or failed inspections. Steep slope? Retaining wall? Protected trees, known drainage problems, unpermitted structures, or utility easements crossing the build area? Then the site work becomes specialized quickly. Honestly, that’s where a licensed designer, structural engineer, surveyor, or contractor with local ADU experience matters more than optimism.
Think of the job this way: the adu construction process step by step: from site prep final inspection is a chain of inspections and handoffs. Not a tiny house project. Survey verification, grading, excavation, foundation, rough utilities, framing, enclosure, rough inspections, insulation, drywall, finish work, trim-out, final inspection, occupancy signoff — that’s the order most projects live or die by. Skip one link, and the next trade often has to rip it open again. Ugly, but true.
What has to be in place before the first shovel hits the ground?
The site has to be cleared, verified, and staked before excavation starts. Not a cleanup day. A control point. Local building departments or a licensed site contractor should guide it. The whole point is simple: the ADU must land where the approved plans show it, at the right elevations, with the right setbacks, and without trashing utilities or drainage patterns. For locate guidance, see the federal 811 overview at the Common Ground Alliance and the FCC’s consumer page on digging safely. Common Ground Alliance, FCC Call Before You Dig
Start with utility locates and a site walk. In most U.S. jurisdictions, the buried utility locate process runs through 811, but private lines on a property may still need separate verification. Confirm the approved footprint, pad elevation, access path, staging area, and spoil pile location. If the plans call for a 10-foot setback, check that the staked corners actually respect it after accounting for fence lines, eaves, and any required fire separation. On a sloped lot, a 6-inch error in finished floor elevation can turn into a drainage headache later. Small miss, big bill.
The site prep phase usually includes tree protection, erosion control, temporary fencing, and grading. If the ADU is in a backyard, I’d expect the contractor to protect the path for materials, not just the footprint itself. A common miss is forgetting that concrete trucks, framing deliveries, and dumpsters need a clear route. If the route is too narrow or too soft, the job starts with damage.
The first real check is whether the site matches the permit set. The second is whether water will move away from the future structure. If the lot drains toward the ADU, fix that before foundation work. A French drain or swale may be part of the plan, but it should be intentional, not improvised after framing. For grading and drainage concepts, the International Code Council’s residential code resources and FEMA’s drainage guidance are useful references. ICC, FEMA Floodplain Management
How do you build an ADU step by step?
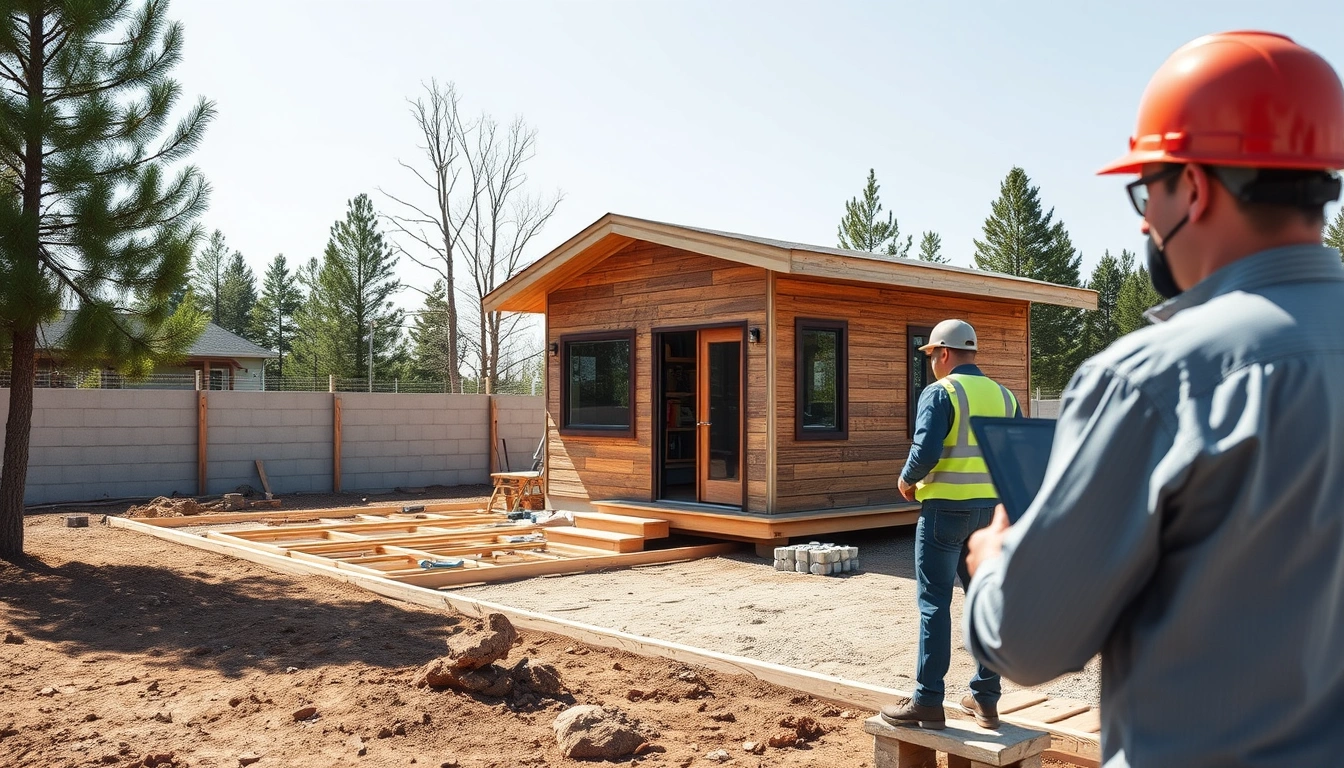
You build an ADU by following the inspection sequence, not by jumping to the visible parts first. The order below is the one I would want a reader to understand before hiring anyone or planning a schedule. Exact details change by jurisdiction and foundation type, but the logic stays the same. For a typical detached ADU, the construction timeline often runs 6 to 12 months from site work to final signoff, depending on size, access, and permit turnaround.
- Verify layout and elevation. Stake the footprint to the approved plan, then confirm corners, setbacks, and finished-floor elevation with a laser level or builder’s level. Verify that the pad height keeps the slab, crawlspace, or stem wall above surrounding grade and away from runoff. A mismatch between the stakeout and the permit set is a problem; correct it before digging.
- Excavate and prepare the subgrade. Excavate to the footing or slab depth called for by the plans, then compact the subgrade in lifts of about 4 to 8 inches if the soil conditions require fill. Verify soil is firm, uniform, and free of organics. Soft or disturbed soil that pumps under foot pressure is a problem; that often means re-compaction, undercutting, or engineered fill.
- Install forms, reinforcement, and drainage details. Set foundation forms, place rebar or mesh per the structural drawings, and add any drain pipe, vapor barrier, or hold-down anchors required. Verify cover, spacing, and anchor locations before concrete is poured. Exposed reinforcement, missing anchor bolts, or vapor barrier gaps are a problem because they invite moisture migration.
- Pour the foundation. Place concrete for slab, footing, or stem wall, then screed, finish, and cure it, but confirm the mix, reinforcement, and curing requirements with the engineer or inspector first. For a slab-on-grade, the surface should be level enough for framing tolerances and flat where the plans require it; for footings, the dimensions must match the approved size. Verify the pour against the inspector’s expectations before the crew leaves. Honeycombing, uneven elevation, or misplaced anchors are a problem, and they can stall framing. For concrete placement and curing basics, see the Portland Cement Association and ACI 302 guidance. [PCA](https://www.cement.org/learn/concrete-technology/concrete-construction/placing-concrete), [ACI 302](https://www.concrete.org/store/productdetail.aspx?ItemID=302R96)
- Pass the foundation inspection. Schedule the rough foundation inspection before backfill if your jurisdiction requires it. Verify that footings, hold-downs, anchor bolts, and any under-slab plumbing or electrical sleeves are visible and correct. Covering work too early is a problem; once backfilled, bad work costs more to expose.
- Frame the structure. Build the walls, floor system, and roof structure according to the engineered or prescriptive plans. Verify wall plumb, floor level, roof pitch, and connection hardware such as straps, clips, or shear nailing patterns. Drift in the frame is a problem, because even a small out-of-square error causes cabinet, door, and drywall headaches later.
- Run rough mechanicals, electrical, and plumbing. Install supply lines, drain-waste-vent piping, wiring, boxes, ducts, vents, and any HVAC equipment rough-in. Verify line sizes, slope on drain lines, protected wire paths, and clearances around venting and equipment. A missed pipe slope, a wire run through an unapproved notch, or ducting that conflicts with framing is a problem.
- Complete rough inspections. Call for rough electrical, plumbing, mechanical, and framing inspections before insulation or drywall. Verify that all concealed work is open to view and matches the plan set. Covering a wall with insulation before a failed rough inspection is a problem, because it means opening it again.
- Insulate and air-seal. Install insulation with the specified R-value, then seal penetrations, top plates, joints, and gaps at windows and doors. Verify that insulation is full-depth and not compressed, and that required fireblocking is in place. Thin spots, voids, or blocked ventilation in assemblies that need airflow are a problem.
- Hang drywall and finish interiors. Install drywall, tape, mud, sand, then paint, trim, and fit cabinets, doors, and flooring. Verify that drywall edges meet code-required separations and that wet areas have the right backing and finishes. Finishing before plumbing or electrical corrections are made is a problem, because it wastes time and material.
- Trim out fixtures and connect equipment. Set toilets, sinks, faucets, lights, switches, receptacles, appliances, and HVAC registers. Verify GFCI and AFCI protection where required, hot/cold hookups, venting, and thermostat operation. A fixture installed before the circuit or drain is tested is a problem, which can create leaks or dead circuits.
- Complete final cleanup, punch list, and final inspection. Remove debris, label shutoffs, test smoke and carbon monoxide alarms, and correct punch-list items before the final walkthrough. Verify that all visible work matches the approved plans and all life-safety devices function. Leaving minor code items for “later” is a problem; later is usually after the inspector has already failed the job.
A strong project keeps each step tied to an inspection or verification point. That discipline is what separates a clean ADU build from a long rework cycle. If you want a broader municipal overview, the U.S. Department of Housing and Urban Development has ADU policy and planning resources. HUD ADU resources
What should you check before you close up the walls?
Check every concealed system before drywall covers it, because closed walls hide the mistakes that cost the most to fix. This is the stage where a missed pipe, a loose strap, or an undersized circuit stops being a nuisance and becomes demolition.
The main checks are framing, plumbing, electrical, mechanical, and weatherproofing. Framing should match the plan, especially around openings, shear walls, and any beam or header size called out by the engineer. Plumbing needs visible leak testing on supply lines and correct slope on waste lines; drain lines that lose pitch are a classic source of future clogs. Electrical rough-in needs proper box fill, protected cable runs, and correct breaker planning. HVAC or mini-split work should have code-compliant clearances and line-set routing that will not be pinched later. On the exterior, windows, flashing, housewrap, and roof penetrations should be in place before insulation or interior finishes begin.
A useful rule: walk the unit with the permit set in hand and look for anything that will be impossible to inspect later. If a pipe disappears into a wall, a strap is buried behind sheathing, or a junction box is hidden without access, stop and fix it now.
Moisture control sits here too. In many climates, wall and roof assemblies need a continuous water-resistive barrier, correct flashing at openings, and no shortcuts at valleys, penetrations, or deck connections. If the ADU is attached to an existing home, the connection detail becomes especially important because old and new structures often move differently. For climate and moisture basics, the DOE Building America program and Energy Star’s air sealing guidance are solid references. DOE Building America, Energy Star Air Sealing
When should an ADU build stop until the plan changes?
An ADU build should stop when the site, structure, or utility conditions no longer match the permitted design. That is not drama; it is the normal boundary between a workable project and a costly mistake.
Setbacks are violated after stakeout: The building encroaches on required clearances — Stop and correct the layout before excavation deepens. A setback error can trigger redesign, permit revision, or removal of already-built work.
Soil is unstable or waterlogged: The subgrade pumps, collapses, or stays saturated — Pause and address drainage, undercutting, or engineered fill. If you pour on bad soil, settlement can crack slab edges, misalign doors, and damage finishes.
Utility conflicts appear in the trench: A buried line, easement, or unexpected service crosses the path — Stop and verify with the utility owner or survey records before proceeding. Cutting or rerouting without a plan can shut down the project.
Framing is out of square or out of plumb beyond practical correction: Openings no longer align with the approved dimensions — Stop and correct the frame before rough-ins and sheathing. If you keep building, cabinets, drywall, and trim become expensive patches.
Rough inspection fails on concealed work: The inspector flags wiring, plumbing, shear, or fireblocking issues — Stop and repair the cause before insulation or drywall. Covering a failed item usually adds labor and can mean another inspection trip.
The design does not fit the site conditions: A flat-finish detail meets a sloped lot, or the planned mechanical location clashes with clearances — Stop and revise the plan with the designer or engineer. Forcing the original plan through a bad site usually creates long-term drainage or maintenance problems.
Those are the moments where “keep moving” is the wrong instinct. A short pause is cheaper than demolition.
The mistakes people actually make, and what they cost
The most common ADU mistakes are not dramatic; they are small omissions that compound over 6 to 12 months of building and inspection.
The first is starting with incomplete site verification. People assume the fence line is the property line or the old patio is in the right place. The consequence is a setback error or utility conflict. The fix is a current survey or a verified site plan before digging.
The second is treating drainage as an afterthought. A backyard ADU on a lot that already ponds water needs grading, swales, or drains planned up front. Skip that, and you may get moisture at the slab edge, water against the foundation, or standing water near entry steps. The correct alternative is to design surface water management before excavation, ideally with a local civil engineer or experienced site contractor.
The third is burying bad rough work. A missed drain slope, unprotected cable, or wrong valve location is cheap to fix when exposed and expensive after drywall. The correct alternative is to slow down before inspections and verify each concealed system.
The fourth is assuming all inspectors want the same thing. Local code enforcement varies on items like fire separation, egress, and equipment clearances. If you build to a generic internet list instead of the approved plan and local code, you can fail for something simple. Better to use the permit drawings and ask for clarification before closing walls.
The fifth is underestimating access. ADUs often sit behind existing homes, so material delivery, concrete access, and dumpster placement matter. If the crew has to hand-carry everything 80 feet through a narrow side yard, labor rises and damage risk rises with it. Plan the route first.
What changes when the ADU is a garage conversion, basement unit, or tight-lot build?
The standard process changes most when the structure already exists or the site is too constrained for normal access. A garage conversion skips major excavation and foundation work, but it usually adds more work on insulation, air sealing, fire separation, and utilities. Basement ADUs often need moisture control, egress, daylight, and ceiling-height checks before any finish work starts.
On a tight lot, access can drive the entire schedule. A site with only a 36-inch side yard can make standard delivery impossible, which affects everything from framing lumber to concrete placement. The tighter the site, the more important it is to plan staging, storage, and waste removal before the crew starts. Tight fit, tight margin.
For existing structures, I’d also expect more coordination between old and new systems. The electrical panel may need an upgrade, the sewer lateral may need capacity review, and the HVAC plan may need to be redesigned to meet the added load. Those issues are not small, because they can change both budget and sequence.
How do you keep the project from drifting after the framing looks done?
Once the framing looks done, the risk is that the project starts to feel “almost finished” even though key verification steps are still open. That is when a clean schedule matters most. The crew should not close walls, insulate, or hang drywall until each rough inspection is signed off and any punch-list items are cleared.
The best control is a simple checklist tied to dates, photos, and inspection results. That record helps you see what has passed, what is still open, and who owns the next fix. It also protects you if a later inspector asks for proof of a correction.
What keeps a project moving is not speed alone. It is a clear sequence, local code awareness, and a willingness to stop when the work no longer matches the plan. That is what keeps an ADU from turning into a series of small, expensive reversals.
Once the final inspection passes, the unit is ready for occupancy signoff, but the job is still not really over. A good owner will keep the approved plans, inspection cards, warranty information, shutoff locations, and maintenance notes together for future repairs.