ADU construction cost breakdown: what homeowners pay for design, permits, site work, and finishes
Last updated: September 10, 2026
Key Takeaways
- A 400-square-foot studio on a flat rear yard behaves differently from an 800-square-foot detached unit with a long trench to the meter.
- Even a 600-square-foot unit with a simple layout can swallow a surprising chunk of the budget through kitchen cabinetry, bath waterproofing, and floor transitions.
- An ADU budget includes far more than framing and cabinets.
- This article is for homeowners planning a detached, attached, or garage-conversion ADU on a residential lot.
Budgeting an accessory dwelling unit gets messy fast. The real question is not “How much does an ADU cost?” It is “Where does the money go, and which line items can I control?” In this ADU construction cost breakdown: what homeowners pay for design, permits, site work, and finishes, I’m going to split the budget into design, permits, site work, shell, utilities, and finishes so you can see which costs are fixed, which are local, and which are easiest to underestimate.
What an ADU budget actually includes
An ADU budget includes far more than framing and cabinets. In a typical project, the money splits into pre-construction work, entitlement and permit fees, site preparation, utility connections, the structure itself, and the finish level inside the unit. The cleanest way to think about it is in buckets: soft costs, hard costs, and owner-driven upgrades. “Soft costs” means design, engineering, surveys, energy documents, and permit processing. “Hard costs” means physical construction. Many homeowners stare at square footage and miss the invisible work that makes the project legal and buildable.
This article is for homeowners planning a detached, attached, or garage-conversion ADU on a residential lot. I’m assuming you already know the basic difference between a detached unit and an interior conversion, and that you are past the “Should I build one?” stage. Still deciding whether your parcel can support an ADU at all? Then zoning and setbacks come before budgeting. If your lot has major slope, a septic system, or flood-zone constraints, the budget changes enough that a general article only gets you halfway there.
To be blunt, this is not for everyone. If you need a fully custom unit with hillside engineering, retaining walls, or a utility trench across a long yard, a cookie-cutter cost breakdown will mislead you. Those projects can swing sharply because of site work alone — like a loose bolt turning into a wrench fight. By contrast, a simple garage conversion often has less site disturbance but more hidden code-upgrade costs.
Start by separating what the city requires from what you want to add. That split matters because a code-minimum 1-bedroom ADU and a premium 1-bedroom ADU can share the same footprint and still land at very different totals.
How does the ADU construction cost breakdown work?
The ADU construction cost breakdown usually runs through design and engineering, permits and fees, site work, structure and utilities, and finishes. In many ADU projects, the shell and interior finishes make up the largest share, but design and site work are the lines people underestimate first. There is no universal percentage that works everywhere, because local permit structures and utility conditions can dwarf the price of materials. Even so, the categories stay the same, and that is what helps you compare bids without getting lost in line-item theater.
Here is the practical breakdown I use when reading an estimate:
- Measure the unit and the site constraints. Start with the exact ADU type, target size, and location on the lot. A 400-square-foot studio on a flat rear yard behaves differently from an 800-square-foot detached unit with a long trench to the meter. Verify setbacks, access width, and whether there is room for staging and excavation equipment. Trouble shows up when the site plan does not match the survey or the available buildable envelope.
- Price the design package. Ask for architectural drawings, structural plans, Title 24 energy documentation if required in your state, and civil work if grading or drainage changes are needed. Verify that the plan set is permit-ready, not just conceptual. Trouble appears when the proposal says “drafting” but leaves out engineering stamps or energy forms.
- Add permit and agency fees. Count planning, building, plan-check, impact fees if applicable, and utility application charges. Verify whether the jurisdiction waives or reduces certain fees for smaller ADUs, because some do and some do not. A bid that says “permit fees included” without listing what happens if the city requires revisions is a warning sign.
- Budget site work separately. Site work includes demolition, excavation, grading, drainage, trenching, foundation prep, tree protection, access improvements, and haul-away. Verify whether the soil report or geotechnical work is included; that report often dictates footing size and drainage details. Any estimate that assumes “light grading” without a site walk or topo survey is shaky.
- Price utility connections and upgrades. Water, sewer, storm drainage, gas, electric, and sometimes fire-sprinkler tie-ins can each add cost. Verify whether the existing panel has capacity, because a new subpanel or service upgrade can be a major expense. Trouble shows up when the contractor’s number assumes “existing utilities nearby” but the meter is across the house.
- Separate the shell from the finishes. The shell covers foundation, framing, sheathing, roofing, windows, insulation, drywall, and exterior cladding. Finishes include flooring, tile, cabinets, counters, paint, fixtures, and trim. Verify the exact quality level: builder-grade, midrange, or custom. The trap is an allowance that is too low for the finish level you actually want.
- Add contingency. I would set aside at least a modest contingency for unknowns, especially on older properties or any site that has not been tested by excavation. Verify that the contingency is not already buried inside vague line items. A “fixed price” can look tidy and still exclude soil surprises, utility upgrades, or plan revisions.
That sequence keeps you from the usual mistake: treating the ADU as one price when it is really six or seven different decisions stacked together. If you are unsure how to compare bids, consult a qualified architect, engineer, or ADU contractor and compare the scope line by line.
What homeowners pay for design and permits
Homeowners pay for drawings, engineering, energy compliance, plan checks, and the city’s permission to build. Design costs are not just about making the ADU look good; they translate code into a permitable set of documents. For a typical project, the design phase often includes a measured site plan, floor plan, elevations, foundation design, structural calculations, and utility routing. In California, for example, ADUs are governed by state law and local building departments still enforce plan review and code compliance, so “state-friendly” does not mean “paperwork-free.” A useful source for homeowners is the California Department of Housing and Community Development’s ADU guidance, and for permit process basics, local building department pages are often more current than glossy contractor summaries.
Permits are a separate cost because they are the city’s review and inspection system. Plan check can trigger revisions if the ADU conflicts with setbacks, height rules, fire separation, or parking exceptions in your jurisdiction. If your project needs a zoning adjustment, coastal review, or special inspection, that is not a small line item. A generic estimate that bundles “permits” into one lump sum often hides the real cost of changes after the first submittal.
The trade-off is simple: lower design fees can save money up front, but weak drawings often cost more later. I’d rather see a homeowner pay for a complete permit set once than pay for multiple resubmittals because the plans omitted grading, drainage, or structural details. On the other hand, a very elaborate design package is wasted on a simple garage conversion where the layout barely changes. The right level of design is the one that matches the complexity of the site.
A good benchmark is completeness, not a dollar figure. If the city can review the package without asking basic questions about foundation, energy, or drainage, the design money was well spent. If the permit submittal reads like a concept sketch, the budget is incomplete even if the design fee looked low. For current permit rules and fee schedules, check your local building department and the California Department of Housing and Community Development ADU page.
What homeowners pay for site work
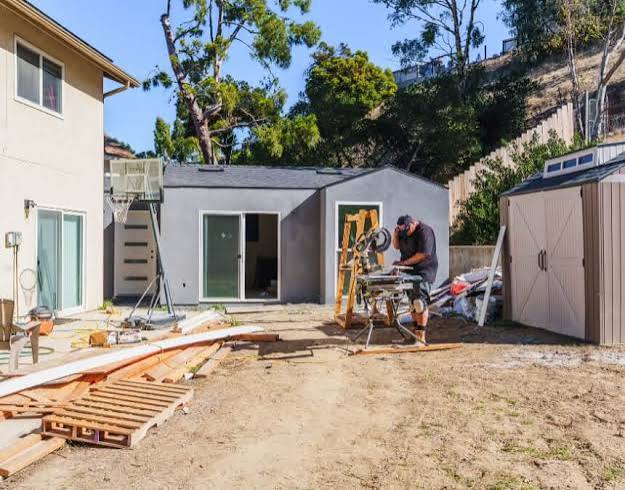
Homeowners pay for everything required to make the lot buildable before the ADU shell goes up. Site work is where budgets can jump fastest because it depends on what is under the soil and what sits in the way. A flat, accessible yard with good soils and nearby utilities is one thing; a tight side yard with mature trees, broken concrete, and a long trench is another. Site work commonly includes demolition, tree removal, excavation, grading, compaction testing, drainage, trenching, foundation prep, and haul-off.
First, a quick definition: grading means reshaping soil so the building pad slopes properly and water drains away from the structure. Done badly, it sends water to the wrong place, and the ADU pays for it later through standing water, damp crawlspaces, or failed inspections. The second term is compaction, which means mechanically tightening soil so the foundation does not settle unevenly. That matters on any new pad, especially where fill dirt has been added.
I’d treat site work as a separate scope from the structure itself, but a contractor should confirm that approach against the survey, geotechnical report, and local permit rules. Contractors who lump foundation, trenching, and utility tie-ins into one number make it hard to compare bids. Separate pricing helps: access, excavation depth, soil export, trench lengths, and restoration should each be clear. Have a narrow side yard? Ask how many feet of equipment access the contractor needs and whether materials must be hand-carried. That can change the labor picture fast.
Honestly, this is the least predictable part of the budget. Older lots may hide abandoned slabs, undocumented utility lines, poor drainage, or clay soil that needs extra excavation and backfill. A geotechnical report and a survey are not glamorous, but they can prevent a nasty surprise after the dig starts. If a bid ignores them on a difficult lot, I would not trust the rest of the number. Federal Housing Finance Agency guidance on site conditions and local building department rules can help you sanity-check the assumption set.
Which finishes change the budget the most?
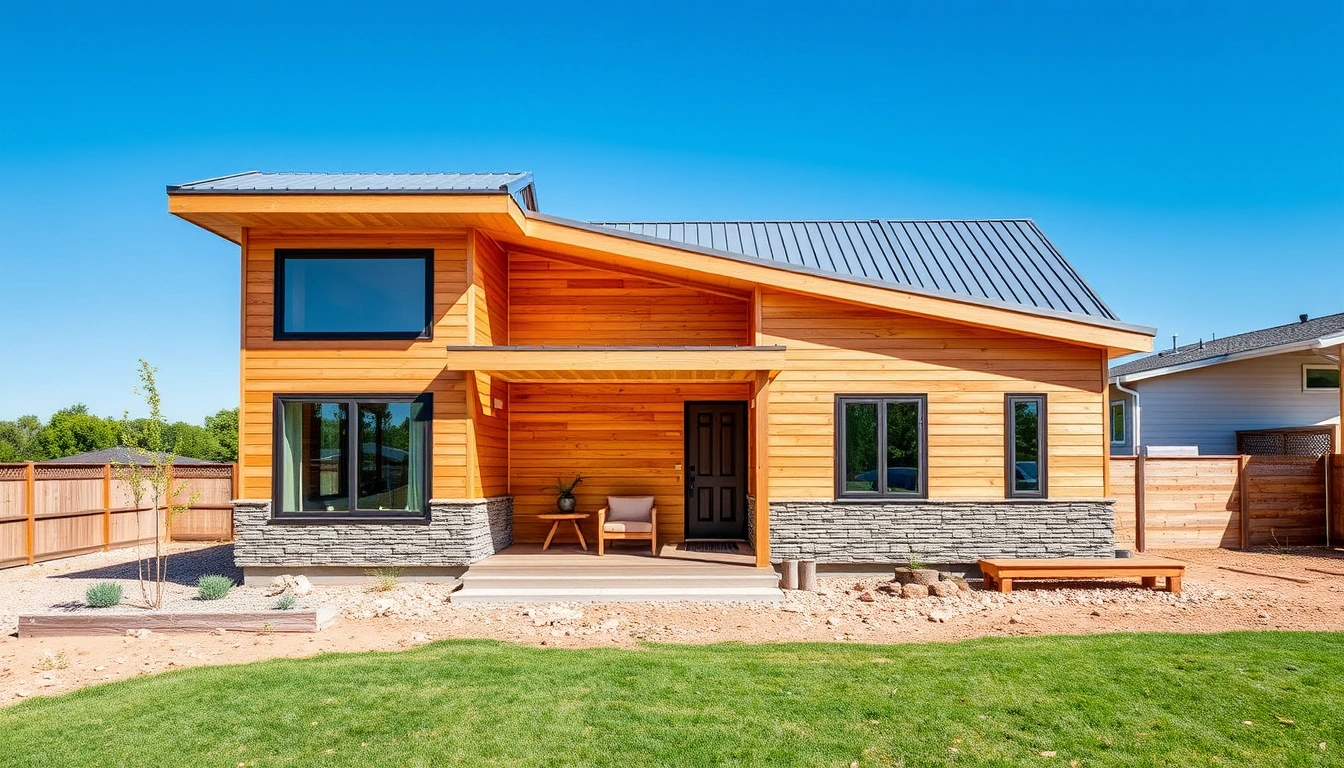
The finishes that change the budget most are cabinets, countertops, tile, flooring, windows, plumbing fixtures, lighting, and appliances. A plain ADU can stay near code-minimum finishes and still look clean. A nicer ADU can get expensive very quickly once you move from stock materials to custom details. The square footage may stay the same, but the price per square foot changes because the items you touch every day are where upgrades add up.
I would sort finishes into three tiers. Builder-grade means standard cabinet boxes, laminate or entry-level solid-surface counters, basic tile, and straightforward paint and trim. Midrange means better hardware, more durable flooring, upgraded windows, and a more deliberate bath and kitchen package. Custom means specialty millwork, high-end tile, design-forward lighting, and appliance packages that compete with the main house. The danger is not luxury itself; the danger is deciding late. Once electrical, plumbing, and cabinet dimensions are set, finish changes can force redesign.
This is where homeowners often undercount. They price the structure and then “just pick finishes,” as if a kitchen and bath package were a minor extra. In a small ADU, finishes are visible in every room, so even modest upgrades have a bigger emotional and budgetary effect. Because of that, a 600-square-foot unit with a simple layout can still absorb a large share of the budget in kitchen cabinetry, bath waterproofing, and floor transitions.
My view is straightforward: spend on durable, easy-to-maintain surfaces before spending on decorative features. I would choose a better floor and better shower waterproofing before I chose fancy cabinet door profiles, but I would still check those choices with a designer or contractor if the unit needs to match a larger main home. That advice is wrong for someone building a showcase guesthouse meant to match a high-end main home exactly. It is right for most homeowners who care about long-term maintenance and resale more than showpiece details.
What usually blows up the estimate?
The usual budget blowups are utility upgrades, site surprises, scope creep, and permit revisions. Utility work is the classic trap because many homeowners assume the existing service can absorb the new unit. Sometimes it can. Sometimes the electrical panel, water line, sewer connection, or gas service needs work before the ADU can pass inspection. That is not a “nice to have”; it is a buildable-or-not issue.
Scope creep is the other big culprit. A project starts as a simple one-bedroom ADU, then adds a bigger patio door, extra insulation, skylights, built-ins, or a larger bath. Each one sounds small. Together they can shove the budget into a different bracket. Permit revisions can do the same when the first submittal misses code details or does not fit the lot correctly.
Here are the mistakes I see most often, but homeowners should still confirm them with an architect, plan checker, or contractor:
- Treating design as decoration. The consequence is incomplete permit documents and expensive redraws. The correct alternative is to budget for permit-ready plans and engineering from the start.
- Assuming site work is “minimal.” The consequence is a blown contingency when excavation, drainage, or haul-off cost more than expected. The correct alternative is a site visit, survey, and realistic soil/drainage allowance.
- Ignoring utility capacity. The consequence is a surprise service upgrade, new trenching, or a delayed inspection. The correct alternative is to confirm electrical, water, sewer, and gas conditions before final pricing.
- Pricing finishes by the cheapest catalog item. The consequence is an allowance that does not cover the actual selections. The correct alternative is to choose the finish level before finalizing the budget.
- Letting allowances hide the real number. The consequence is a bid that looks low until selections are made. The correct alternative is to ask what the allowance covers in plain language and compare it across bids.
A cheap number that excludes half the project is not a bargain. It is a delayed surprise. For a cost reality check, compare your assumptions with the U.S. Department of Energy, the California Department of Housing and Community Development, and permit data from your local building department.
When does the standard cost breakdown not apply?
The standard cost breakdown does not apply cleanly when the lot is complicated, the ADU is a conversion, or the utility path is long. A detached new-build ADU on a flat suburban lot is the easiest case. Everything else needs adjustments.
Steep slopes or retaining walls: This usually means civil engineering, deeper foundations, and drainage work beyond basic grading. The consequence is that site work can rival the cost of the structure. The right move is to get engineering involved before relying on any square-foot estimate.
Garage conversions: These often reduce foundation and exterior shell costs, but they can increase costs for fire separation, insulation, ceiling height corrections, window openings, and utility rerouting. The consequence is a project that looks cheap on paper and is not cheap once code upgrades are priced. The right move is to compare conversion costs against the code deficiencies of the existing structure.
Long utility runs: If the new unit sits far from the service point, trenching and restoration can become meaningful budget items. The consequence is a site-work-heavy project even if the ADU itself is compact. Before you lock a budget, confirm the run lengths and service conditions with the utility provider and the contractor.